

How to Put an iPod Into Disc Mode in iTunes
If your iPod is acting up, putting into Disk Mode is one way to run tests to determine the technical issues affecting the device. In order to use your iPod in Disk Mode in iTunes, you need to activate Disk Mode on your device first before connecting it to your computer. The steps involved in this procedure differ slightly depending on what kind of iPod you own. In all instances, charge your iPod and back up any important data before proceeding.
IPods with Click Wheels

Switch your iPod’s “Hold” button to the “On” position and then back to the “Off” position.
Press the “Select” and “Menu” buttons simultaneously and hold them down until the Apple logo appears on your iPod’s display.
Release the “Select” and “Menu” buttons when you see the Apple logo and immediately press and hold the “Play/Pause” and “Select” buttons until you see the Disk Mode screen appear on your iPod’s display.
Connect your iPod to your computer using the cable that came with the device. Launch iTunes and begin using your iPod in Disk Mode.
IPods without Click Wheels
Switch your iPod’s “Hold” button to the “On” position and then back to the “Off” position.
Press the “Play/Pause” and “Menu” buttons simultaneously and hold them down until the Apple logo appears on your iPod’s display.
Release the “Play/Pause” and “Menu” buttons when you see the Apple logo and immediately press and hold the “Next” and “Previous” buttons at the same time until the Disk Mode screen appears.
Connect your iPod to your computer and launch iTunes.
Sixth Generation iPod Nanos

Press the “Volume Down” and “Sleep” buttons at the same time. Hold them down until your iPod’s screen turns black, which should take about eight seconds.
Press and hold the “Volume Up” and “Volume Down” buttons simultaneously until your iPod enters Disk Mode.
Attach your iPod to your computer and launch iTunes.
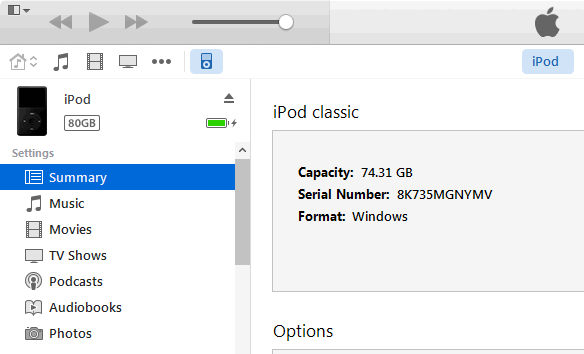
Disk Mode iPod
Connect the iPod to the computer. Start iTunes.
Select the iPod icon in the Source pane.

Click on Summary.
Tick Enable disk use or Manually manage music and videos.
Either one will allow you to enable iPod as portable hard drive. If you select Manually manage music and videos, iTunes won’t automatically update the iPod. If you want iTunes to automatically update your iPod, select Enable disk use instead.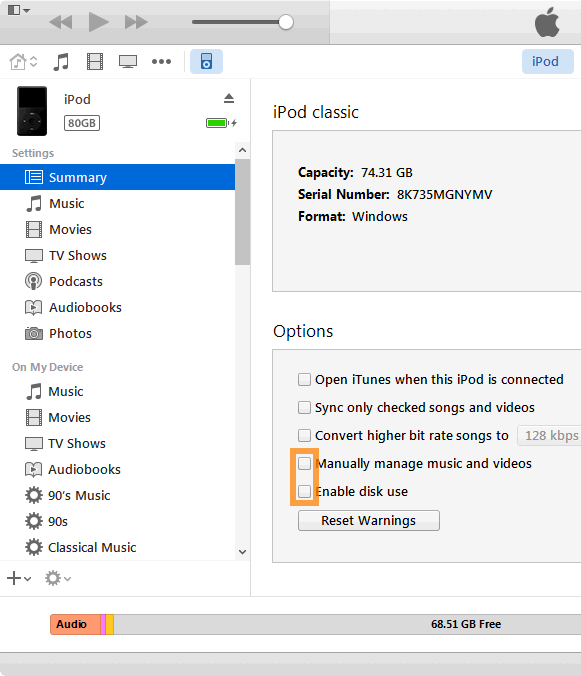
The iPod drive will appear in Windows Explorer. Double-click the icon to open the drive and view its contents. You can now simply drag files to/from your iPod.
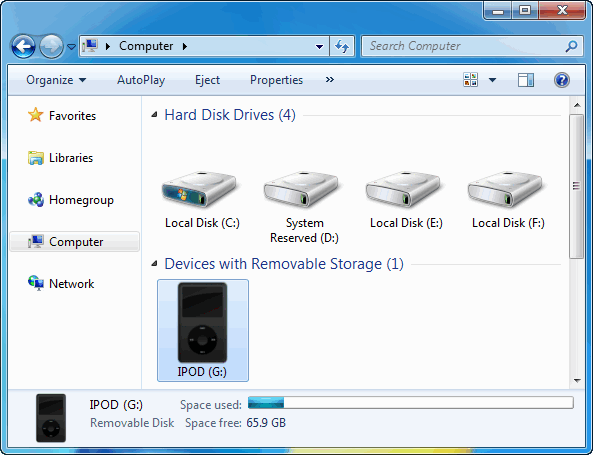
Make sure to eject iPod before disconnecting it from your computer.
Tip: The iPod display will read “Do Not Disconnect” when disk use is enabled (iPod shuffle’s status light will blink orange until after it’s ejected).


0 Comments